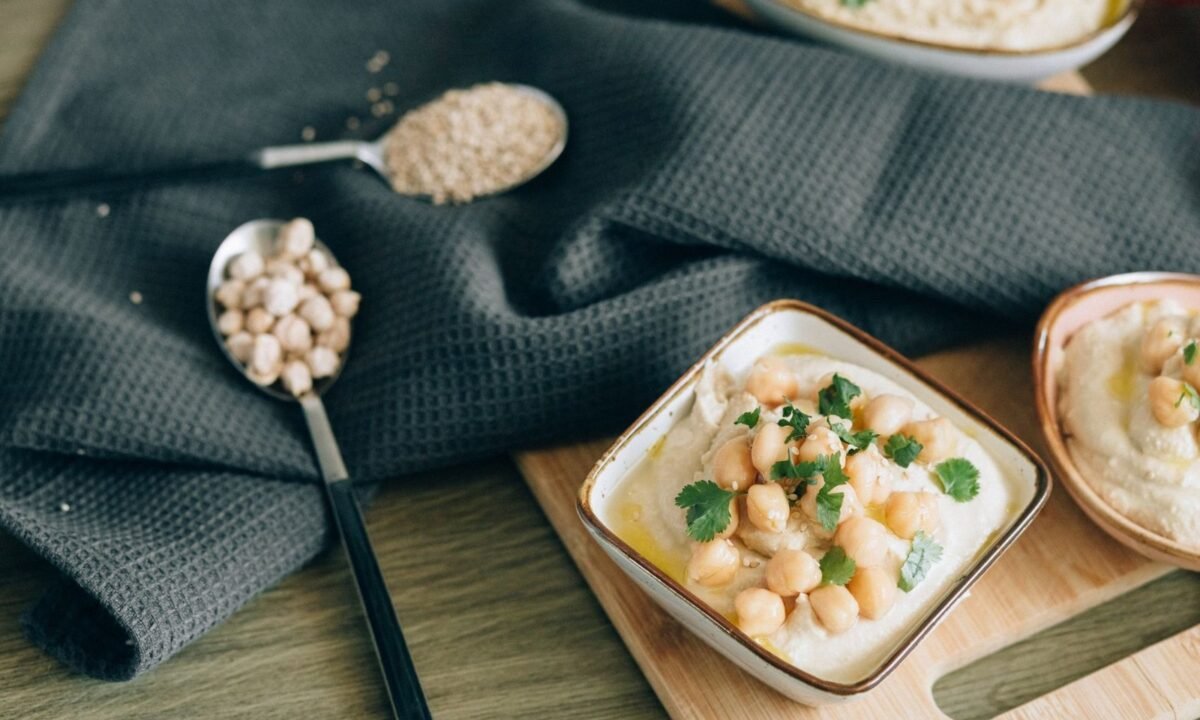
Homemade hummus is one of the easiest snacks you can make from pantry staples. You need one can of chickpeas, a spoonful of tahini, a lemon, a clove of garlic and some salt. A food processor does the rest in about ten minutes, and the result is smoother, brighter and fresher than most tubs sold in grocery stores.
Chickpeas are a good base for a snack because they supply fiber and plant protein. Tahini adds healthy fats and a nutty depth that makes the dip taste finished rather than plain. Once you understand how the ratios work, homemade hummus becomes a flexible recipe you can adjust to your taste, your texture preference and whatever you have on hand.
This guide covers the ingredients, the method, storage, common mistakes and variations, including a lighter version. Most of it is practical, so you can make a good batch on your first try and improve it the next time.
Full recipe below
Homemade Hummus
Why this homemade hummus recipe works
The method is simple because the ingredients do most of the work. Canned chickpeas are already cooked and soft, so you skip the overnight soak and long simmer that dried beans need. Blending them with tahini, lemon juice and salt creates an emulsion that turns a grainy paste into a smooth, spreadable dip.
The biggest difference between good and disappointing hummus is texture. Two things drive it: how long you process the mixture, and how much liquid you add. Running the processor longer and adding a few tablespoons of ice water while it runs makes the dip lighter and creamier. Chickpea cooking liquid, the liquid from the can, works just as well and adds body.
Nutritionally, the recipe is a good fit for a snack. According to USDA data for cooked chickpeas, a half-cup serving provides several grams of fiber and protein, and USDA FoodData Central lists the nutrient values for each ingredient so you can check the numbers yourself. A 2-tablespoon serving of hummus with vegetables is a practical way to add legumes to a day that is short on them.
Ingredients for homemade hummus and how to choose them
- Chickpeas (one 15 oz can, drained, liquid reserved): Choose a brand with firm, whole beans and no added sugar. Rinse them well if you want a milder flavor, but save a few tablespoons of the liquid, which is called aquafaba, for thinning.
- Tahini (3 tbsp): Look for smooth, runny tahini made only from sesame seeds. Stir the jar well before measuring, because the oil separates. Stale or bitter tahini will flavor the whole dip, so buy it from a store with good turnover.
- Fresh lemon juice (3 tbsp, about 1 large lemon): Bottled juice tastes flat and sometimes metallic. Roll the lemon on the counter before cutting to get more juice out of it.
- Garlic (1 small clove, or half a clove for a milder dip): Use fresh garlic. Raw garlic gets sharper as it sits, so start small and adjust.
- Extra virgin olive oil (2 tbsp, plus more to drizzle): A fruity, mild oil works well. Save your finest bottle for the drizzle on top.
- Ground cumin (1/2 tsp): Optional but traditional. It adds warmth without overpowering the chickpeas.
- Fine sea salt (1/2 tsp, adjust to taste): Salt wakes up the chickpea flavor. Add it gradually and taste between additions.
- Ice water (2 to 4 tbsp): This is what makes the texture light and smooth. Add it a tablespoon at a time while the processor runs.
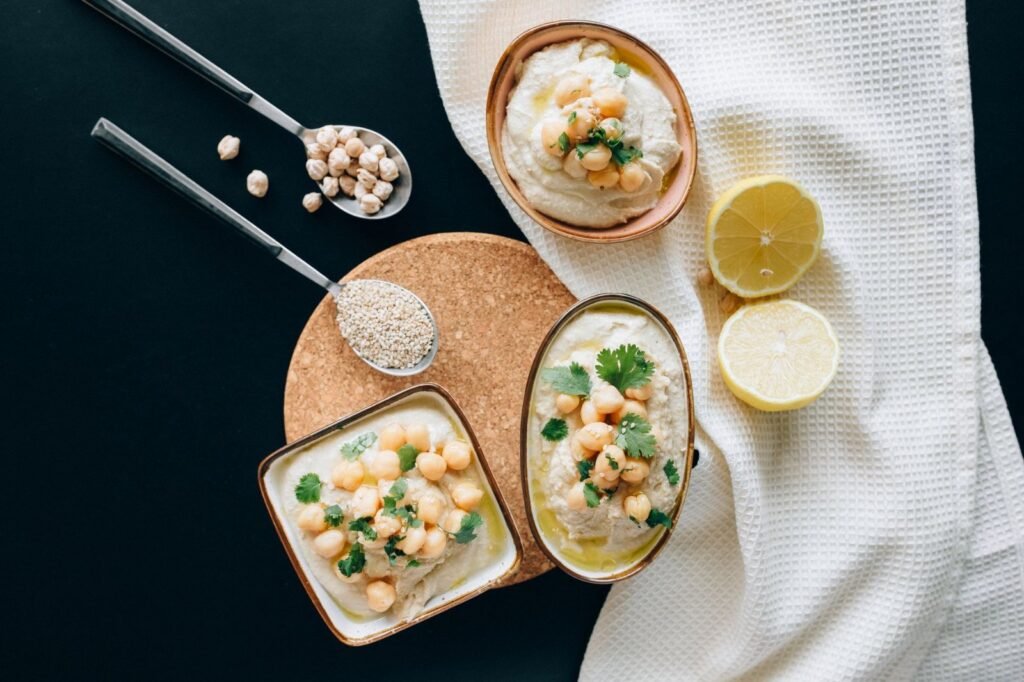
How to make homemade hummus step by step
- Drain the chickpeas, reserving 3 tablespoons of the liquid from the can. Rinse the chickpeas under cool water and let them drain for a minute.
- Add the tahini and lemon juice to the bowl of a food processor. Process for 30 seconds until the tahini looks thick and paste-like. This step helps it blend evenly rather than sticking to the sides.
- Add the garlic, cumin and salt, then process for another 20 seconds to break up the garlic.
- Add the chickpeas and process for 1 minute, stopping once to scrape the sides of the bowl.
- With the processor running, drizzle in the olive oil, then add the reserved chickpea liquid or ice water one tablespoon at a time.
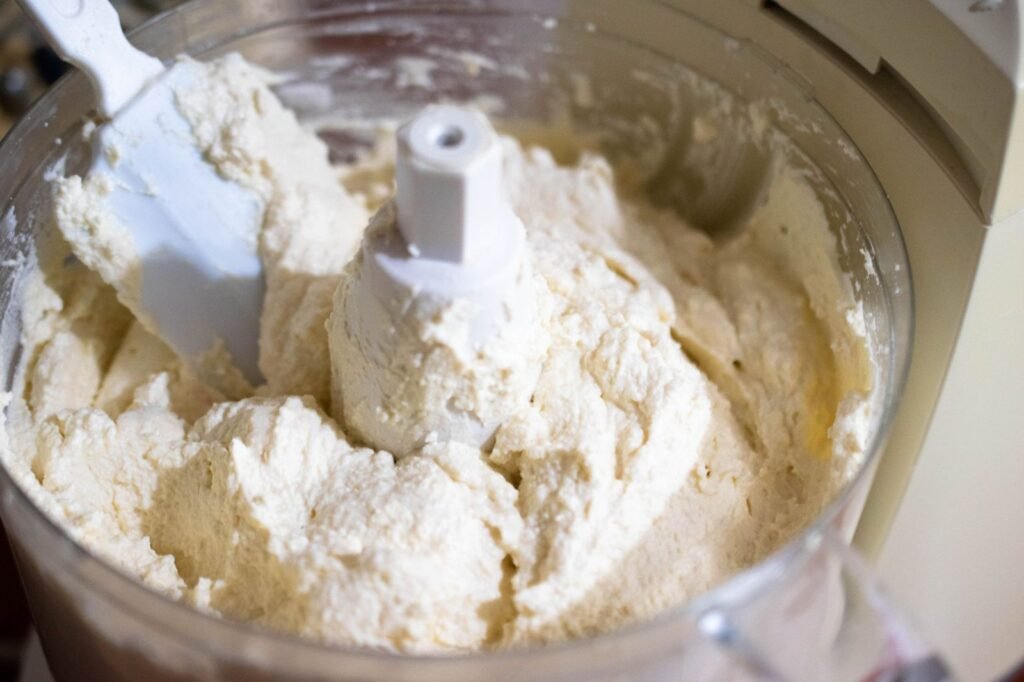
- Continue processing for 3 to 4 minutes total, scraping the bowl every minute, until the hummus is very smooth and spreads easily. Taste and adjust the salt and lemon.
- Transfer the hummus to a shallow bowl. Make a shallow well in the center with the back of a spoon, drizzle with olive oil, and sprinkle with paprika or a pinch of cumin if you like.
- Serve right away, or refrigerate in an airtight container until needed. Hummus firms up as it chills, so you may need a splash of water when you take it out.
Storage and reheating your hummus
Store homemade hummus in an airtight container in the refrigerator. It keeps well for about 4 to 5 days. Follow the general guidance in the FoodSafety.gov cold food storage chart, and keep the container covered so it does not pick up odors from other foods.
Hummus does not need reheating. It is usually eaten cold or at room temperature. If you do want it warmer, microwave a small portion for 10 to 15 seconds and stir. Warm hummus thins out, so add a little olive oil or water to get the texture back.
Hummus can also be frozen. Portion it into a freezer-safe container, leave a little space at the top, and freeze for up to 3 months. Thaw it overnight in the refrigerator and whisk in a teaspoon of water or lemon juice to loosen it. The texture is slightly grainier after freezing, but the flavor holds up well.
Common mistakes to avoid with hummus
- Skipping the tahini step at the start: If you add everything at once, the tahini clumps and the dip turns out gritty. Blend the tahini and lemon first.
- Not processing long enough: Two minutes is rarely enough for smooth hummus. Give it 3 to 4 minutes and scrape the bowl a few times.
- Using too little liquid: A dry mixture is thick and pasty. Add ice water or chickpea liquid gradually until it flows like soft frosting.
- Over-salting early: Canned chickpeas already contain salt. Taste before adding the full amount, and remember that flavors become stronger after chilling.
- Using old tahini: Stale tahini tastes bitter and can ruin the whole batch. Smell it before you use it. It should smell nutty and fresh.
- Serving it too cold: Hummus straight from the fridge tastes muted. Let it sit at room temperature for 15 to 20 minutes before serving.
Swaps and variations for homemade hummus, including a lighter option
- Lighter hummus: Replace half of the tahini with an equal amount of plain nonfat Greek yogurt or additional chickpea liquid. This lowers the fat and calories while keeping the dip creamy. Check the label on your tahini, since one tablespoon typically contains around 89 calories, and the FDA guide to the Nutrition Facts label explains how to compare servings.
- Roasted red pepper hummus: Add half a cup of drained jarred roasted red peppers to the processor with the chickpeas.
- Roasted garlic hummus: Replace the raw garlic with two cloves roasted in their skins at 400°F for 25 minutes, then squeezed out of the peel.
- Herb hummus: Blend in a handful of fresh parsley or cilantro with the lemon juice for a brighter, greener dip.
- Spicy hummus: Add a pinch of cayenne or a teaspoon of harissa paste.
- Black bean hummus: Swap half the chickpeas for canned black beans for a different color and a slightly earthier taste.
What to serve with homemade hummus
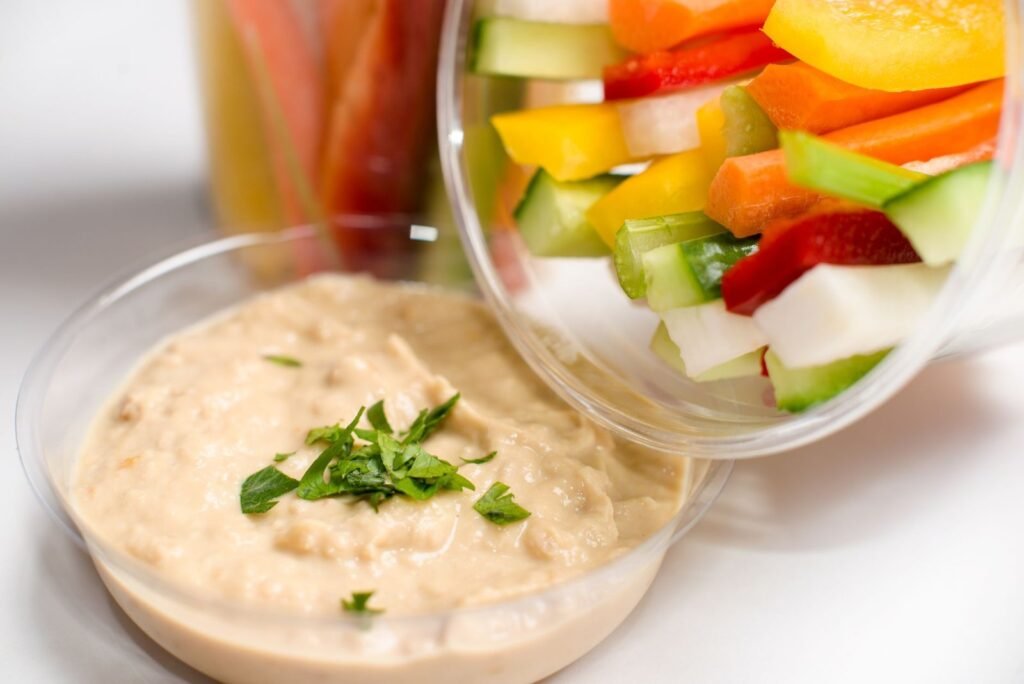
Hummus pairs well with raw vegetables. Carrot sticks, cucumber rounds, bell pepper strips and snap peas all add crunch and fiber. For a complete snack, add a small handful of nuts or a hard-boiled egg. Our guide to how to hard boil eggs shows a reliable method for creamy yolks.
For a heartier plate, serve hummus with warm pita or whole grain crackers, and add a simple salad. Hummus also works as a sandwich spread in place of mayonnaise, and as a base for a grain bowl with roasted vegetables.
If you want more ideas for snacks that pair with dips, the cottage cheese dip recipe is another high-protein option, and the trail mix recipe works well alongside a platter of vegetables and hummus.
Frequently asked questions
How long does homemade hummus last in the fridge?
Homemade hummus keeps for about 4 to 5 days in an airtight container in the refrigerator. Freeze it for up to 3 months if you want to keep it longer.
Why is my homemade hummus grainy?
Grainy hummus usually means the mixture was not processed long enough or did not have enough liquid. Blend for 3 to 4 minutes, scraping the bowl often, and add ice water a tablespoon at a time until smooth.
Can I make homemade hummus without tahini?
Yes. Replace the tahini with 2 tablespoons of olive oil plus an extra tablespoon of chickpea liquid. The flavor will be milder and less nutty, but the dip will still be creamy.
Do I need to cook dried chickpeas for hummus?
Canned chickpeas are the simplest choice for this recipe. If you cook dried chickpeas, soak them overnight, then simmer until very tender, about 60 to 90 minutes, before blending.
Is hummus a healthy snack?
Hummus is a nutritious snack because chickpeas provide fiber and plant protein, and tahini adds unsaturated fats. Pair it with vegetables and watch portion sizes, since a 2-tablespoon serving is a typical amount.
Can I freeze homemade hummus?
Yes. Freeze it in a sealed container for up to 3 months, then thaw in the refrigerator overnight. Whisk in a little water or lemon juice to restore the texture.
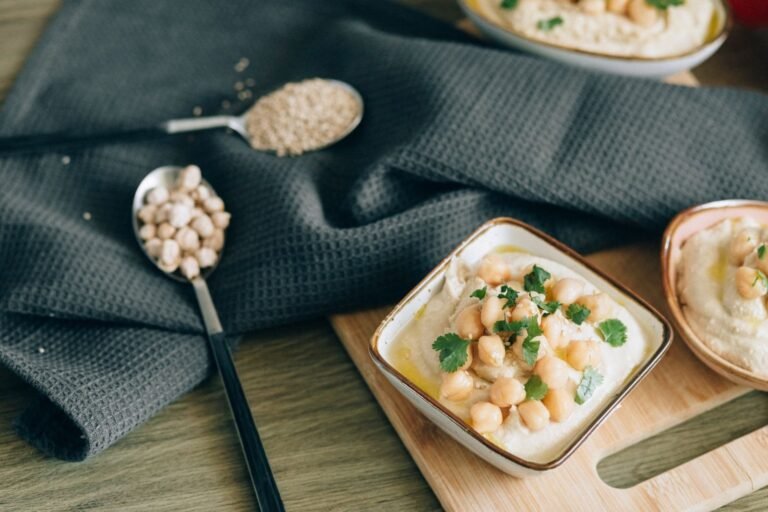
Homemade Hummus
A creamy, smooth homemade hummus made with canned chickpeas, tahini, lemon and garlic in about 10 minutes.
Ingredients
Instructions
- Drain the chickpeas, reserving 3 tablespoons of the liquid. Rinse the chickpeas under cool water and drain for a minute.
- Add the tahini and lemon juice to a food processor. Process for 30 seconds until thick and paste-like.
- Add the garlic, cumin and salt, then process for 20 seconds.
- Add the chickpeas and process for 1 minute, scraping the sides once.
- With the processor running, drizzle in the olive oil, then add the reserved liquid or ice water one tablespoon at a time.
- Process for 3 to 4 minutes total, scraping the bowl every minute, until very smooth. Taste and adjust salt and lemon.
- Spread into a shallow bowl, make a well in the center, drizzle with olive oil and sprinkle with paprika or cumin if you like.
- Serve right away, or refrigerate in an airtight container for up to 5 days.
Notes
- Serving size is 1/4 cup, about 2 tablespoons per snack portion with vegetables.
- For a lighter version, replace half the tahini with plain nonfat Greek yogurt.
- Hummus firms up when chilled. Stir in a splash of water before serving.
Nutrition per serving
- Calories
- 75
- Protein
- 2.2g
- Carbs
- 3.2g
- Fat
- 6.6g
- Saturated fat
- 1g
- Fiber
- 1.2g
- Sugar
- 0.7g
- Sodium
- 299mg
- Cholesterol
- 0mg